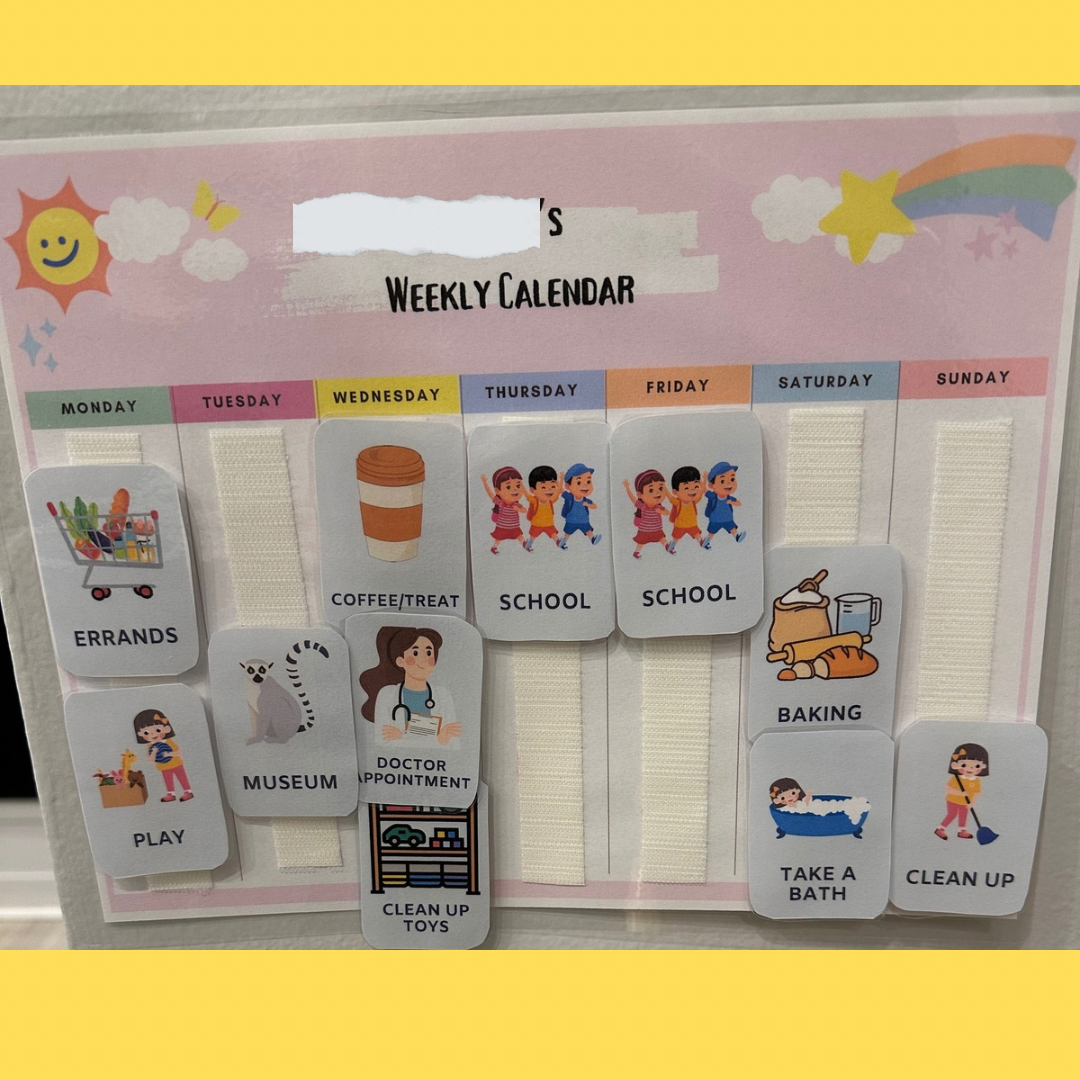
Visual schedules- you know them, you may love them or hate them.
The Basics
Things we know: kids thrive with boundaries, schedules, and knowing what is happening next. This is especially true for those with a diagnosis, disability, or neurodiversity.
Visual schedules can be objects, pictures of the actual items, line drawings, or words. If you’ve ever been in a school system, Boardmaker was the gold standard. Now, we have amazing things like Canva where we can easily make more colorful pictures that aren’t so computer-generated.
The main complaint I hear about visual schedules and the reason families don’t use them at home is that they are hard to make and harder to implement. Who wants to detail their day to the minute after all?
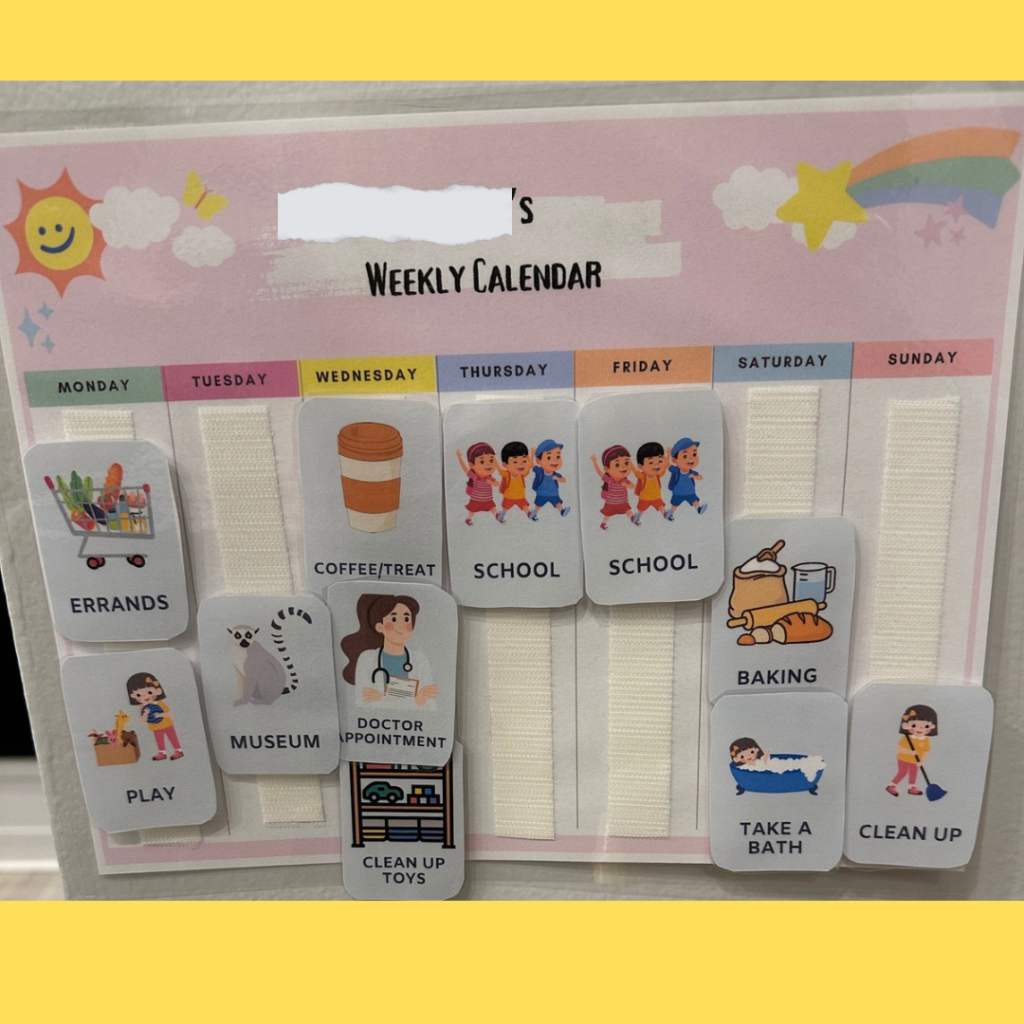
Here’s the thing- visual schedules don’t have to be minute by minute. They can be the top 2-3 activities you are doing that are different that day. They can also be a specific routine that might be difficult for your child. Transitions are a big one- maybe you just use a first-then for hard transitions.
I am passionate about visual schedules. I feel like it might have been the majority of what I did during my Master’s program for Special Education. But I’ve also seen kids go from meltdown after meltdown to checking a schedule and moving on. They even allow children to choose if they get to pick the activity. When provided in a visual way, it’s easier for some kids to make a choice (ex: after nap would you like to do art or go to a playground?)
Where to Start
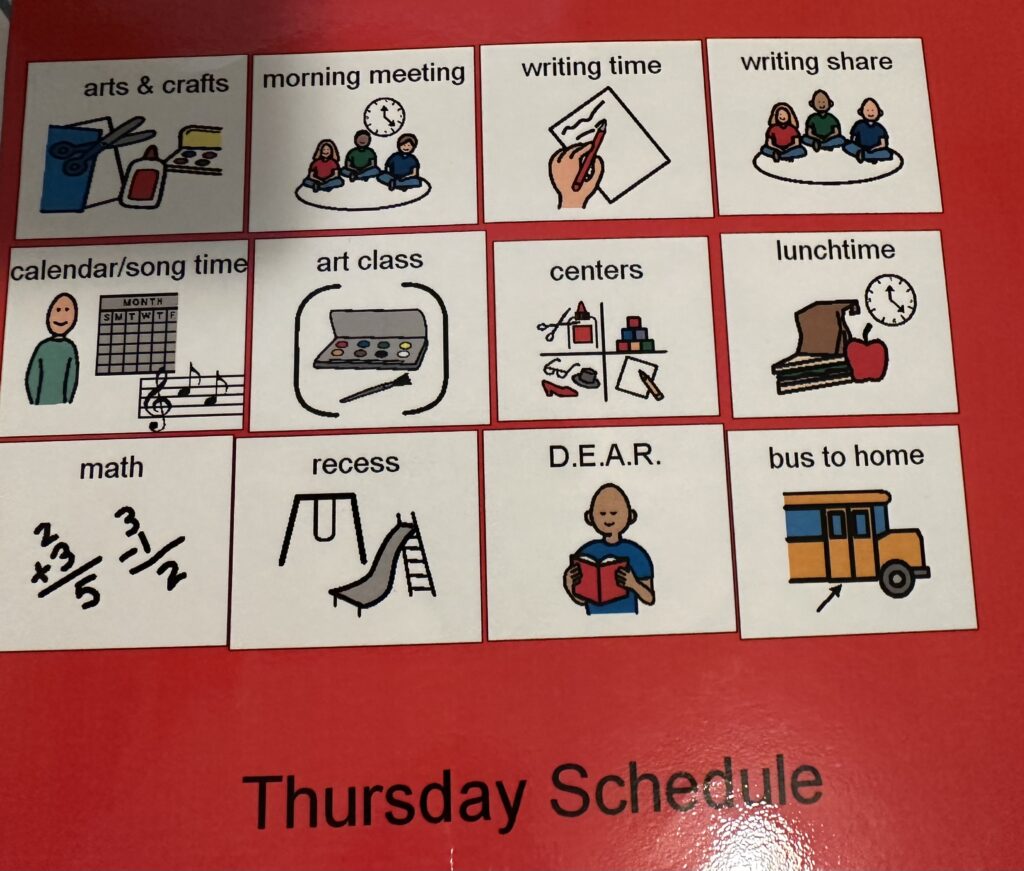
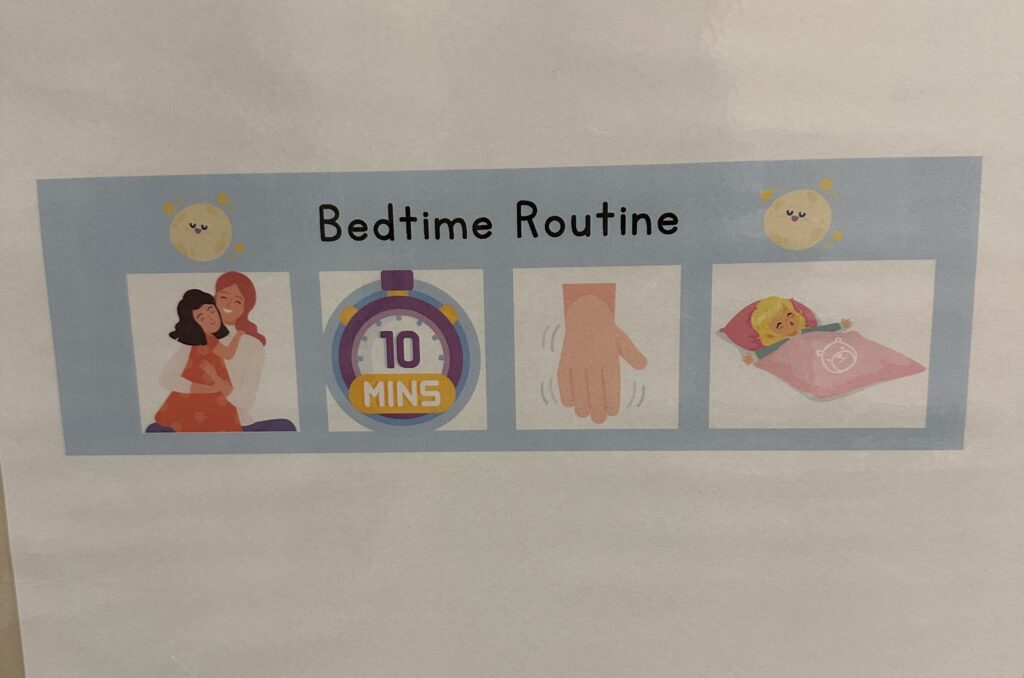
Start with what you know!
- How does your child receive information best? 1-3 steps at a time, the general picture, objects, pictures, or words? Try that first!
- What is your family’s capacity? You may try a schedule and realize it doesn’t work and change it. That’s okay. Do you want it all printed on a sheet without choices? Do you want to use Velcro? Or does a whiteboard marker work best?
- Dedicate 1 hour each day for 3 days to putting it all together. Make sure you have all your supplies (paper, ink, laminator, markers, velcro, etc). It takes less time than you think.
- Stick with it. Get excited! Show your child and use it together. Go back and check-in. Ask your child what works and what doesn’t.
- Try, try again! It takes time and may need modifications along the way.
Additional Tips
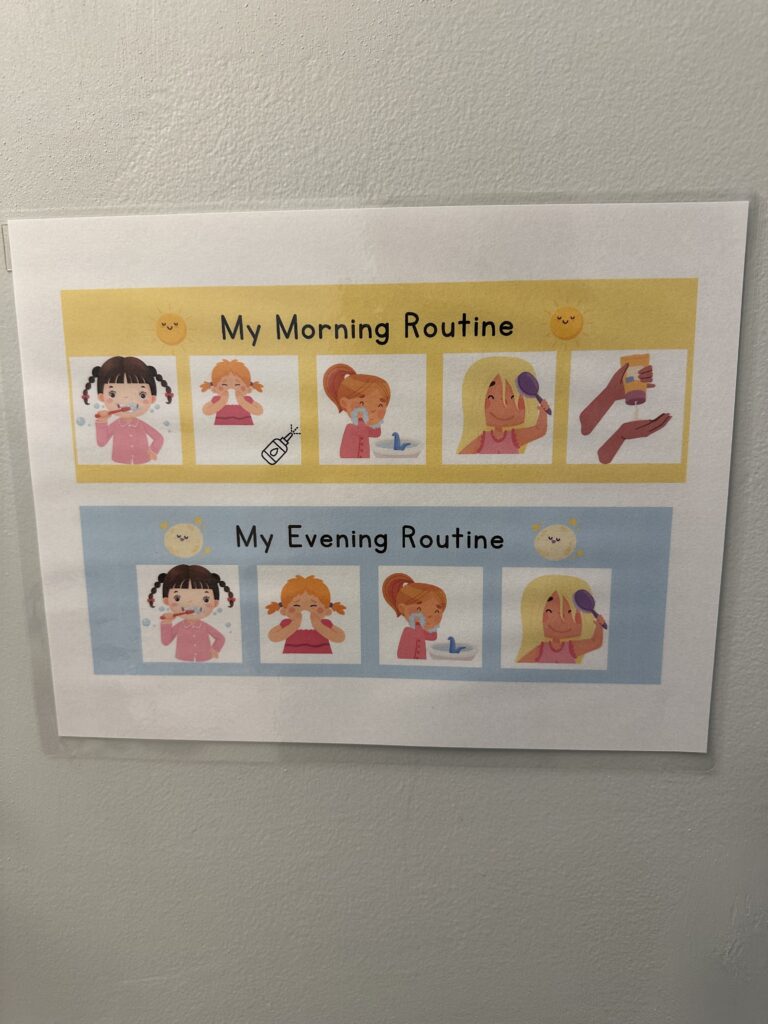
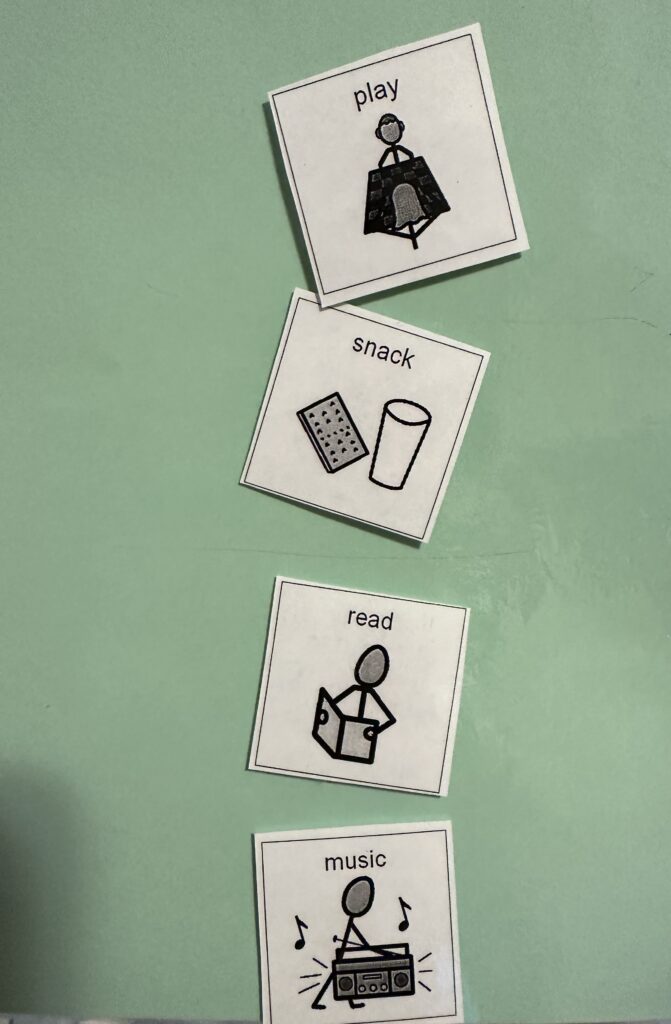
The most motivating schedules are the ones that tap into what a child likes. Maybe your child is a fan of a specific cartoon character, use that on the border. Maybe your child loves dogs, maybe each picture is of a dog doing the activity. Whatever gets engagement, go with it!
Your schedule can be on any surface too. For instance, in the clinic I used a whiteboard and put a strip of velcro down the side. I could make the schedule and have participants check off each thing OR I could write a schedule if they preferred to read it. I’ve also made schedules on a plastic folder that can be taken on the go. Clipboards are great because you can put extra pictures in a ziplock bag and “clip” them on the clipboard.
Final Thoughts
Whatever you choose, try to make it fun. Schedules shouldn’t be something that ruins our day, they should be helping us have better days! If you need support making one or talking through it, I’m always available to meet. Did you know I’m offering quick 15-minute sessions now? I recognized the need for shorter sessions and now offer quick 15-minute sessions for $20. Great for quick questions or insight!

